Best Label Makers for Home Organization That Actually Work
The best label makers for home organization, from pantry jars to homeschool bins. Honest picks after comparing keyboard, Bluetooth, and budget options.
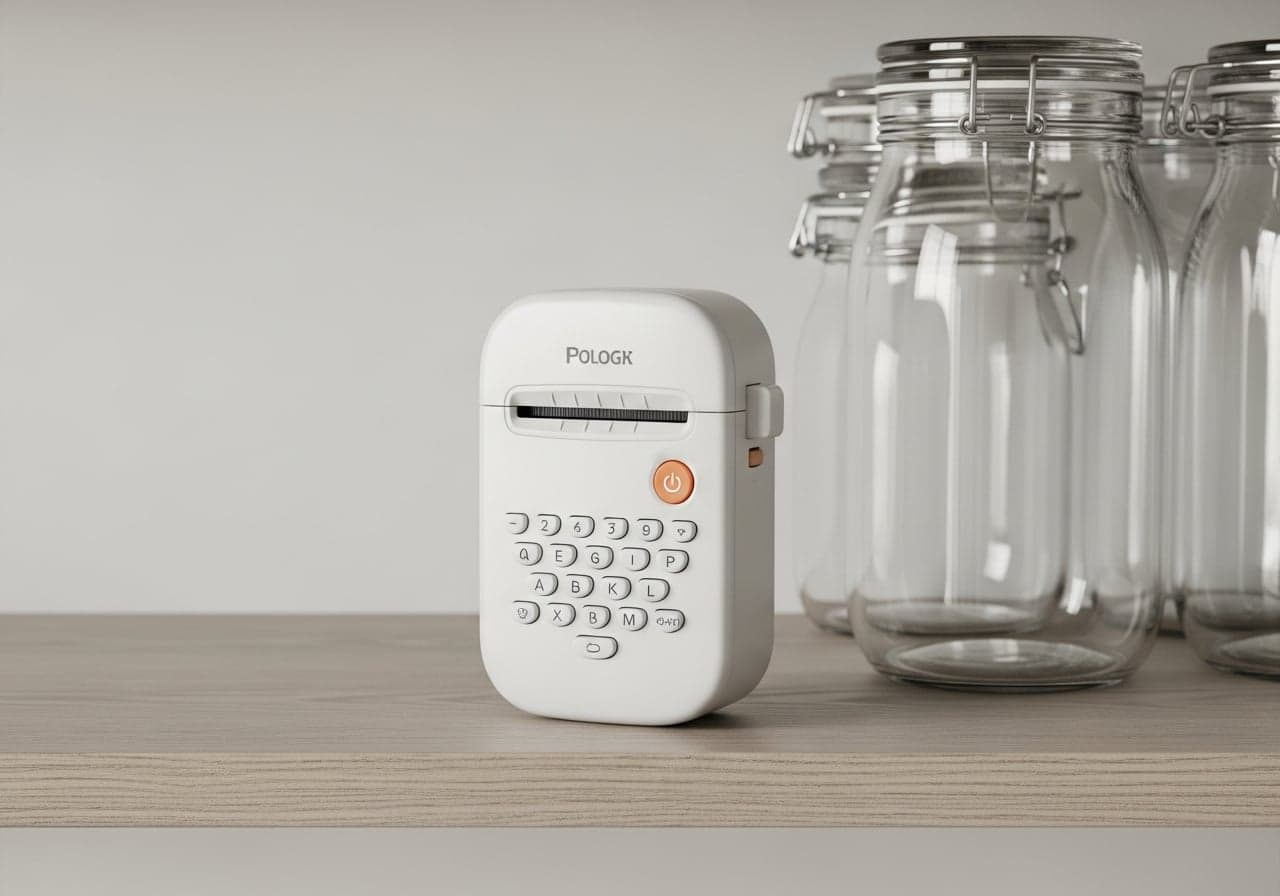
For years, our pantry ran on masking tape and a Sharpie. Every jar of dehydrated apples, every jar of fermented carrots, every canning jar of tomatoes got the same crooked strip of tape with my handwriting fading a little more each month. It worked, technically, until the tape peeled off in the humidity of our kitchen and I had three unlabeled jars of white powder that were either flour, powdered milk, or arrowroot starch, and no way to tell which.
That was the moment I finally bought a real label maker, and then, because I am the person who researches something to death once I decide it matters, I ended up trying four of them over the course of about six months. Between labeling pantry jars, homeschool supply bins for four boys, seed packets in the garden shed, and the chest freezer full of dehydrated and canned goods, I have put these through more real use than a lot of reviews bother with. Here is what actually held up.
What Actually Matters in a Label Maker
A few things separate the label makers worth keeping from the ones that end up in a drawer.
Standalone versus app controlled. Some label makers have a full keyboard built in and work with zero phone required. Others connect over Bluetooth to an app on your phone, which gives you more fonts and label templates but means you are dead in the water if your phone battery dies mid project. I use both types now, for different jobs.
Adhesive strength and durability. A label on a pantry jar needs to survive being wiped down, handled daily, and occasionally splashed. A label on a freezer bag needs to survive frost. Cheap adhesive that curls at the edges within a week is not worth the counter space.
Tape cost over time. This is the hidden expense nobody mentions upfront. Some brands charge nearly as much for a replacement tape cartridge as the machine itself cost. I would rather pay more for the label maker and less per refill, since refills are the thing you actually keep buying.
Print width and label variety. A narrow label maker is fine for spice jars but frustrating for anything bigger, like labeling a homeschool bin or a moving box. The ones that can print a wider range of sizes get used far more often in our house.
How fast you can actually get a label done. If it takes five minutes and three menus to print one label, you will stop bothering and go back to the Sharpie. The best ones let you type and print in under thirty seconds.
At a Glance
| Pick | Best For | Connection | Print Width | Approx. Price |
|---|---|---|---|---|
| Brother P-touch Cube Plus | Best overall, most versatile | Bluetooth app | Up to 1 in | $90-$115 |
| DYMO LabelManager 160 | Best with no app needed | Standalone keyboard | Up to 3/8 in | $25-$35 |
| NIIMBOT D110 | Best budget pick | Bluetooth app | Up to 0.6 in | Under $30 |
| Phomemo M110 | Best for bigger, wider labels | Bluetooth app | Up to 2 in | $30-$45 |
Brother P-touch CUBE Plus (PT-P710BT)
This is the one I would buy first if I were only allowed to own one label maker, and it is the one that gets pulled out the most in our house. It connects over Bluetooth to the Brother app on my phone, where I can pick from a genuinely large library of fonts, borders, and pre-made templates, then print straight to the machine. The auto cutter trims each label cleanly, which sounds minor until you have hand-cut a hundred crooked labels with kitchen scissors like I used to.
I use this one for homeschool bins mostly, since it prints a full inch wide and I can fit each boy's name plus the subject on one clean label instead of stacking two narrow strips. It also runs on a rechargeable battery rather than eating through disposables, which matters when you are printing in batches the way I do every time we reorganize the school shelves.
The honest downside is that it needs your phone nearby and the app open every time, so if you want to print one quick label while your hands are covered in flour mid recipe, it is not the fastest option on this list. It is also the most expensive of the four, though the print quality and label selection make it worth it for anyone doing more than the occasional jar.
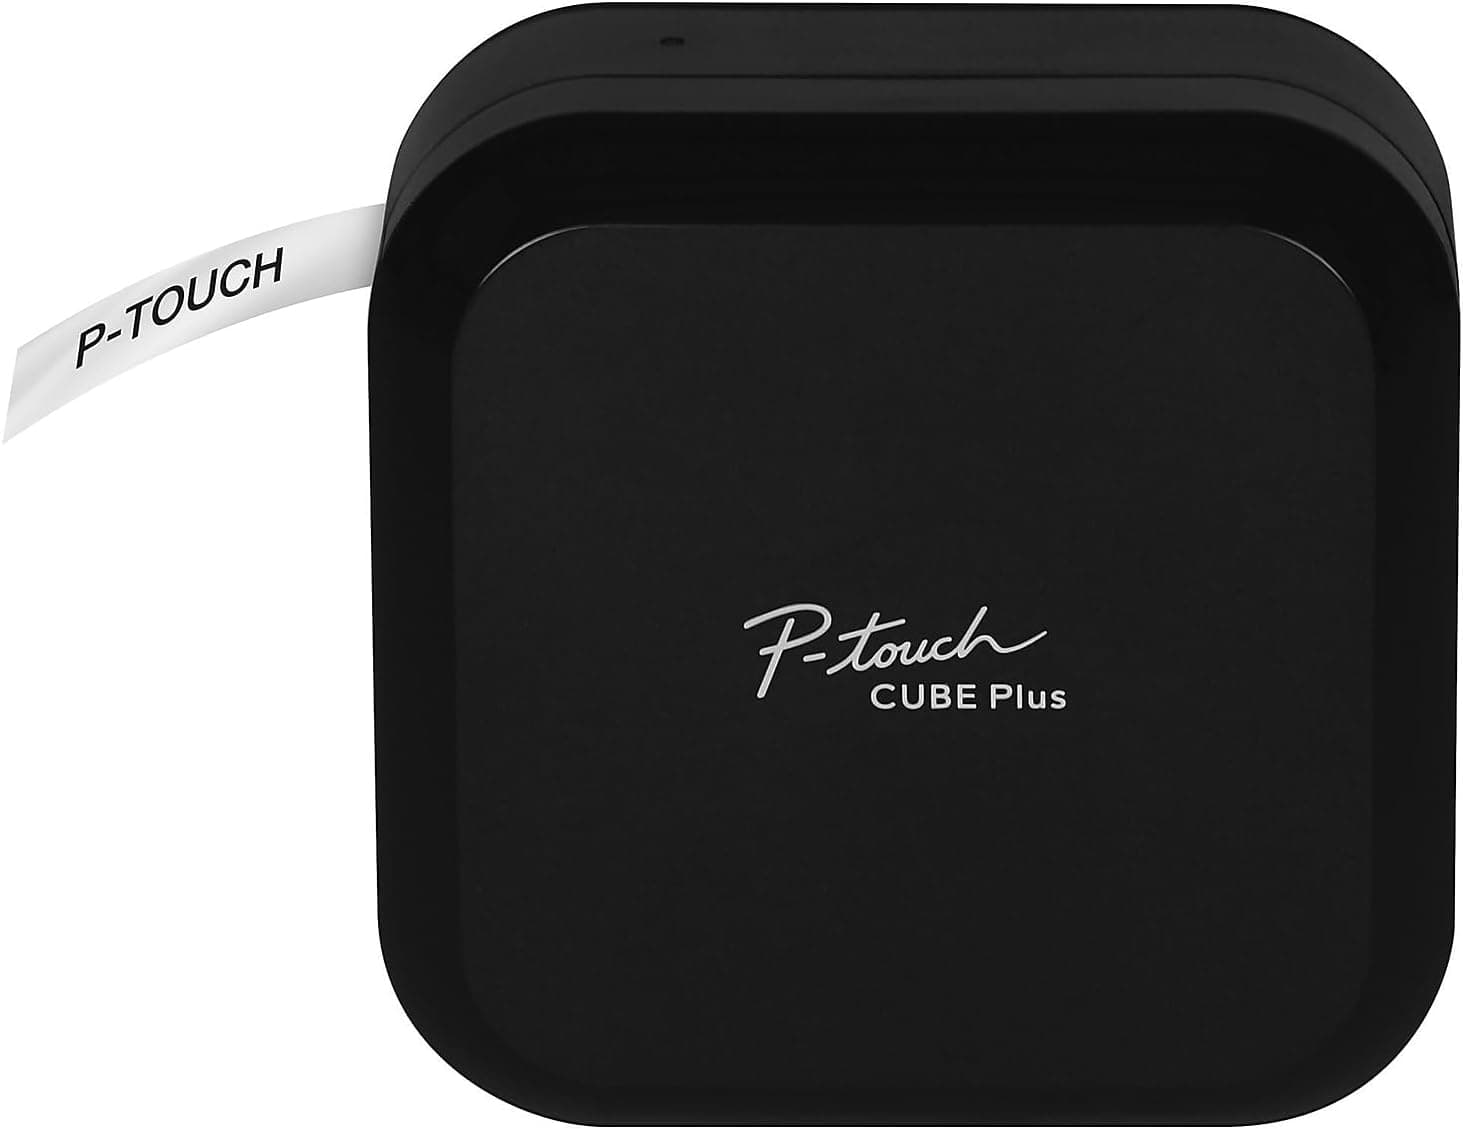
Brother P-touch CUBE Plus Bluetooth Label Maker (PT-P710BT), Black
Bluetooth connected label maker with a wide font and template library through the Brother app, an auto cutter for clean edges, and prints up to 1 inch wide. Rechargeable battery. The most versatile pick here, best for anyone labeling a variety of things beyond just jars.
DYMO LabelManager 160
This is the one that lives in my kitchen junk drawer, charged and ready, because it needs absolutely nothing from my phone. It has a full QWERTY keyboard built right in, so I type a word, hit print, and I am done in under fifteen seconds. For the fast, no-fuss labels, a jar of bone broth going into the freezer, a quick "expires" date, a name on a lunch container, nothing beats just typing on the machine itself.
The tradeoff is print width. At just under 3/8 of an inch, it is genuinely too narrow for anything you want to read from more than a foot away, and it only does plain text, no fonts or icons. I would not use this for homeschool bins or anything that needs to look nice, but for the sheer number of quick utilitarian labels a kitchen and pantry go through, it earns its spot. It also takes standard D1 label tape, which is affordable and easy to find, so refills have never been a hassle.
One caveat worth knowing: the keys are small and the display is a single narrow line, so previewing a longer label before printing takes a little getting used to. Once you have made a dozen labels, it becomes second nature.
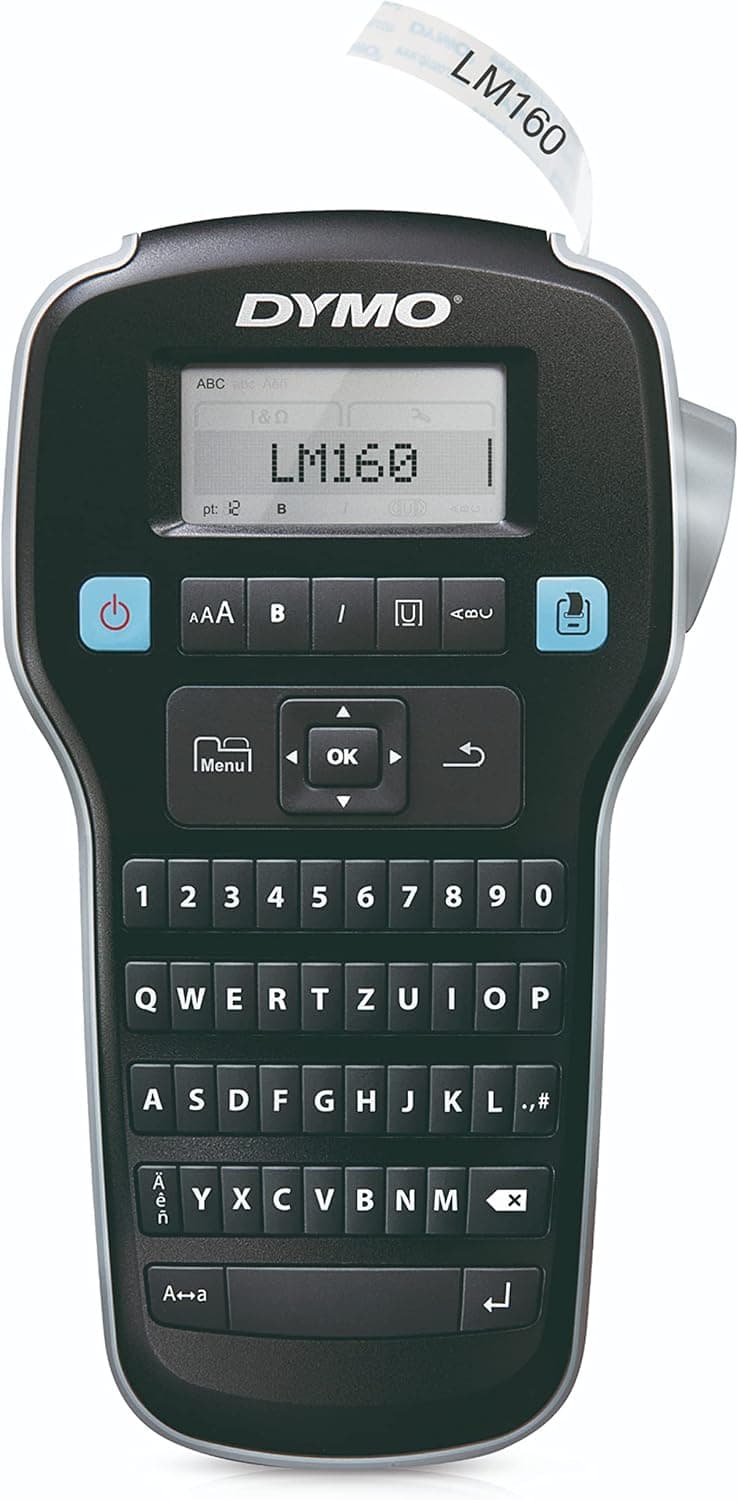
Standalone label maker with a built in QWERTY keyboard, no app or phone required. Prints in under fifteen seconds once you know the layout. Narrow print width around 3/8 inch, best for quick utilitarian labels rather than anything decorative.
NIIMBOT D110
This is the budget pick, and honestly the one I was most skeptical of before trying it. It uses thermal printing, so there is no ink or ribbon to run out mid-project, and it connects to the NIIMBOT app on my phone where you can pick from colored and patterned label tapes, not just plain white. My oldest son picked out a bright yellow tape for labeling his own bin of nature journals, which made him actually excited about a chore that used to be entirely mine.
It is smaller and lighter than the Brother, easy enough to toss in a bag for a homeschool co-op day or a road trip where the kids want to label their own snack containers. The print resolution is good enough for names and short words but starts to look a little soft on very small text, so I keep the font size a notch larger than I would on the Brother.
Where it falls short is app reliability. It has occasionally needed a restart to reconnect over Bluetooth, and the template library, while colorful, is not as deep as Brother's. For the price, though, it does more than a budget label maker has any business doing, and it is the one I hand to the kids without worrying about it.
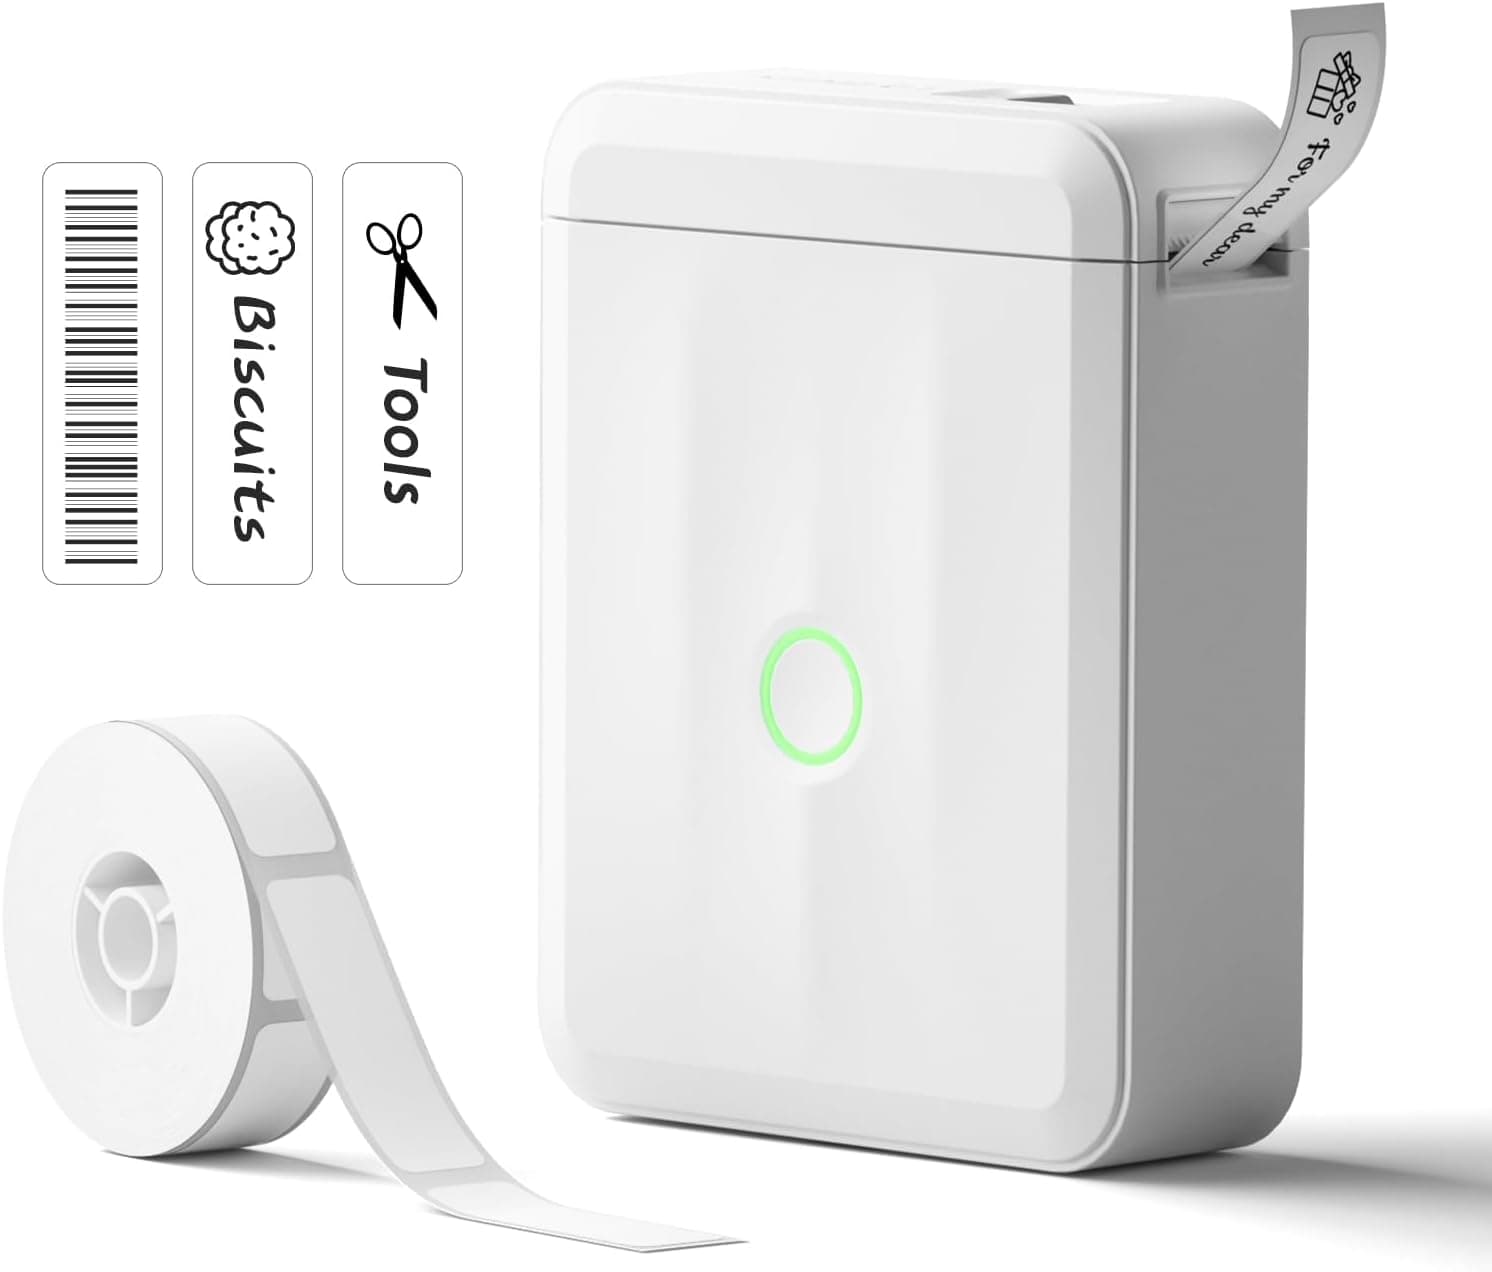
Inkless thermal printing with Bluetooth connection to the NIIMBOT app, which includes colored and patterned label tape options beyond plain white. Small and portable enough for kids to use themselves. Occasional Bluetooth reconnection hiccups, but a strong value for the price.
Phomemo M110
This is the one I reach for when a label needs to actually be seen from across a room, or cover something wider than a spice jar. It prints up to 2 inches wide, which handles moving boxes, storage bins in the garage, and the big glass canisters where I keep bulk flour and oats. It also supports barcode printing and Excel batch printing through its app, which is overkill for most home use but has come in handy the one time I helped a friend label inventory for her small Etsy shop using a barcode label printer like this one.
Battery life is solid for how much I use it, generally lasting through a full afternoon of batch labeling for a pantry reorganization without needing a charge. The app has more of a learning curve than Brother's, and the label rolls it uses are a specific width, so you are somewhat locked into ordering the matching tape rather than any generic option.
It is not the one I use daily, but for the handful of times a year I need something wider and more heavy duty than a jar label, nothing else on this list covers that gap.
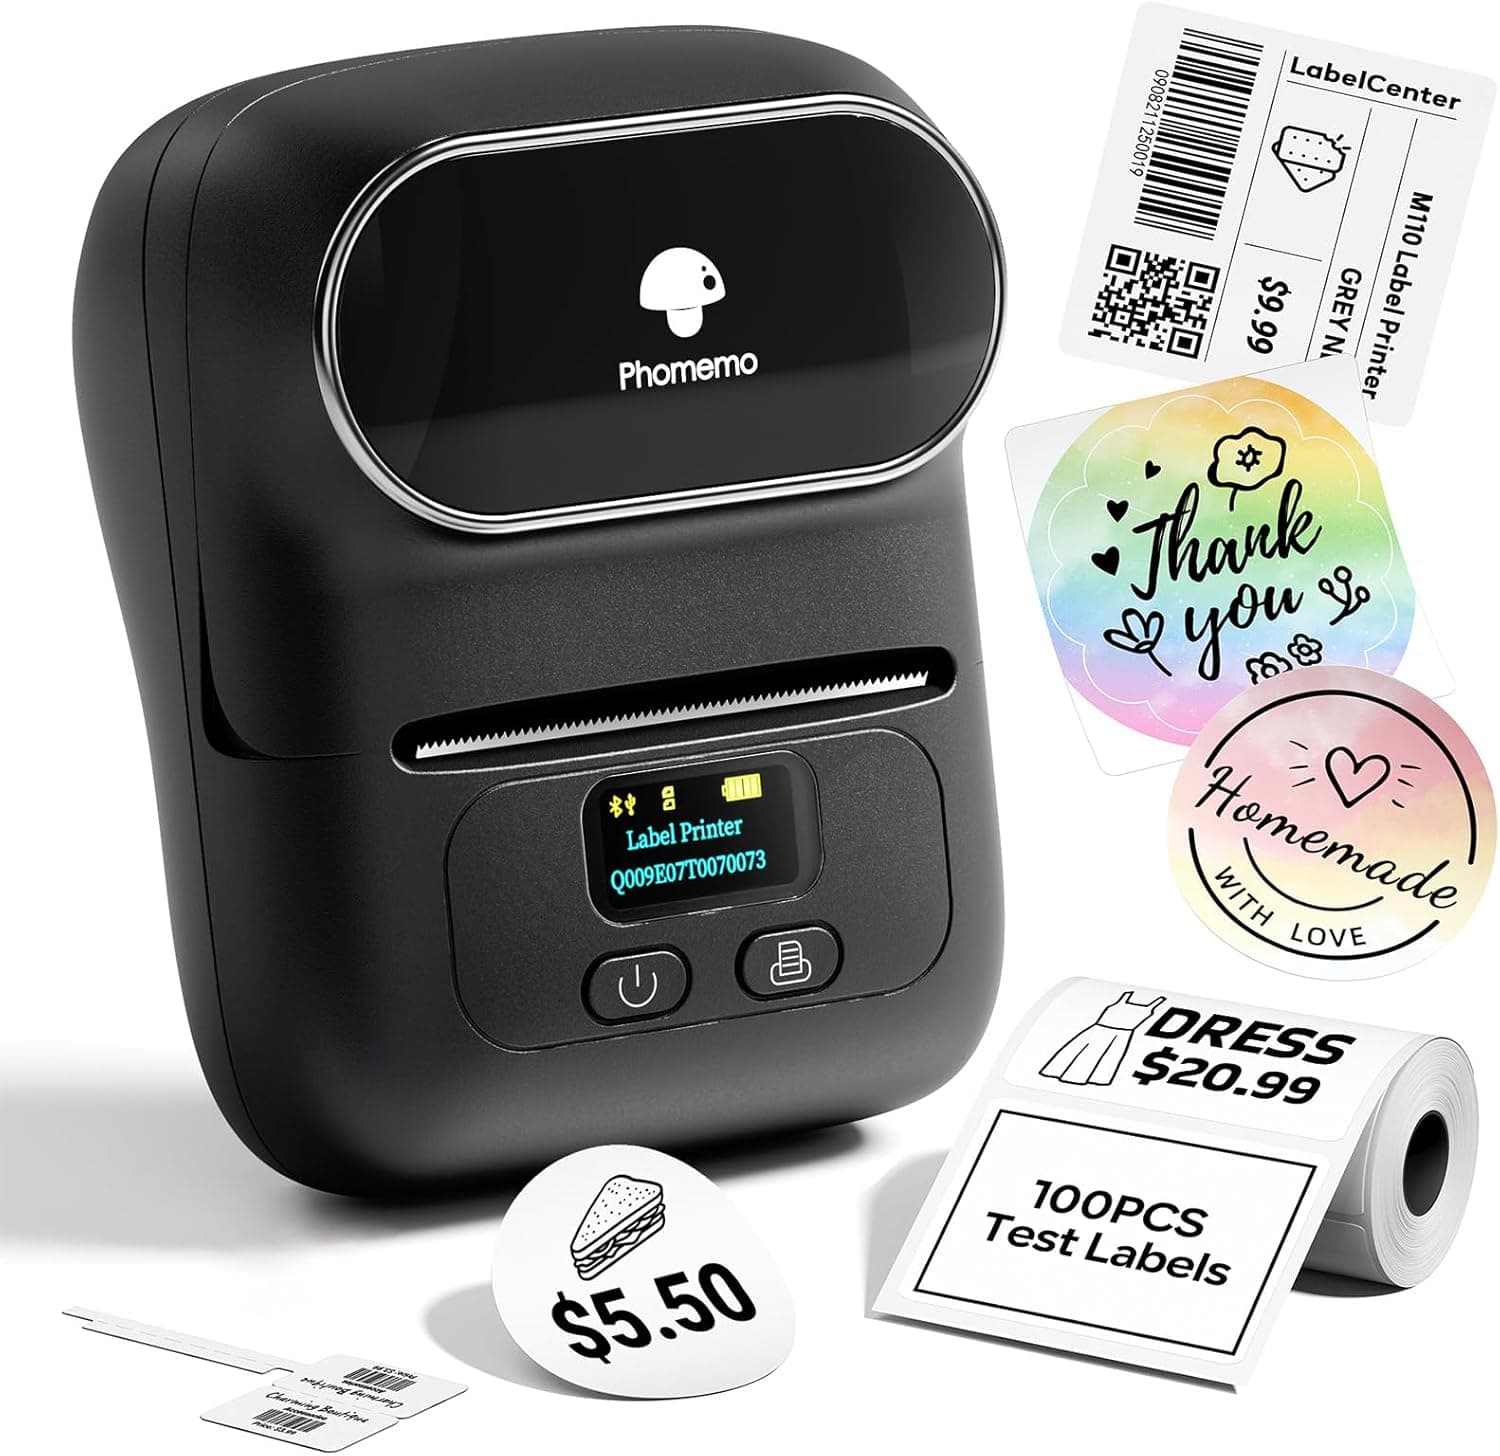
Phomemo M110 Label Makers - Barcode Label Printer Bluetooth Label Maker Portable Thermal Printer
Prints up to 2 inches wide, the widest option here, with barcode and Excel batch printing support through the app. Good for storage bins, moving boxes, and bulk pantry canisters. Requires specific matching label rolls and has a steeper app learning curve than Brother's.
How I Actually Use All Four
Realistically, no single label maker covers everything a home runs on, which is why I still keep more than one charged. The DYMO stays in the kitchen drawer for anything fast, a jar going in the freezer, a quick date on leftovers. The Brother comes out for homeschool reorganization days and anything that needs to look intentional, like labeling the clear pantry bins we use for baking supplies. The NIIMBOT lives in the kids' craft drawer since they can operate it without much help, and the Phomemo comes out maybe once a season, when we are doing a bigger reset of the garage or pantry shelves.
If I had to recommend just one to a friend starting from scratch, it would still be the Brother P-touch. It is the most forgiving for someone who has never used a label maker before, and it handles the widest range of jobs without needing a second machine to fill in the gaps. But if the goal is simply killing the masking tape and Sharpie habit as cheaply as possible, the DYMO does that job for a fraction of the price.